Blog
I spent 5 days in Hilo, Hawaii studying carving with Tevita Kunato (www.oceaniacarving.com)
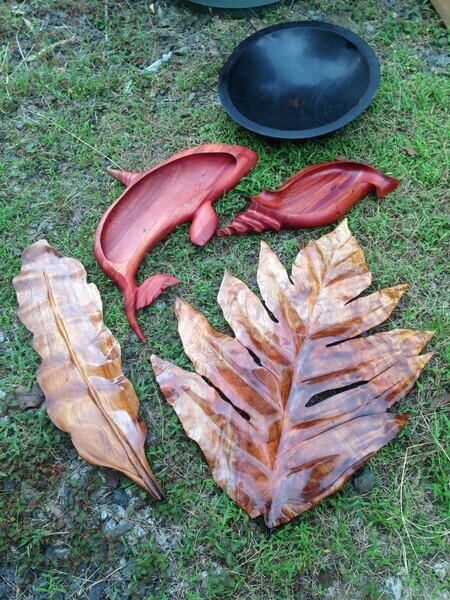
Here are some photos of what was created during that time:
If it looks like a chair, maybe it should be a chair.....
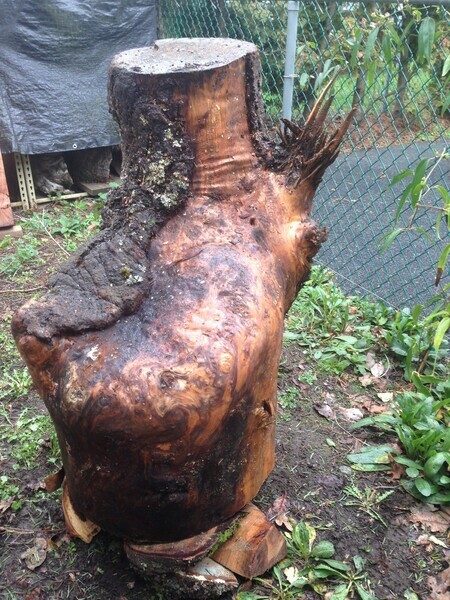
Interesting Fir wood with a 'seat' and a 'back'
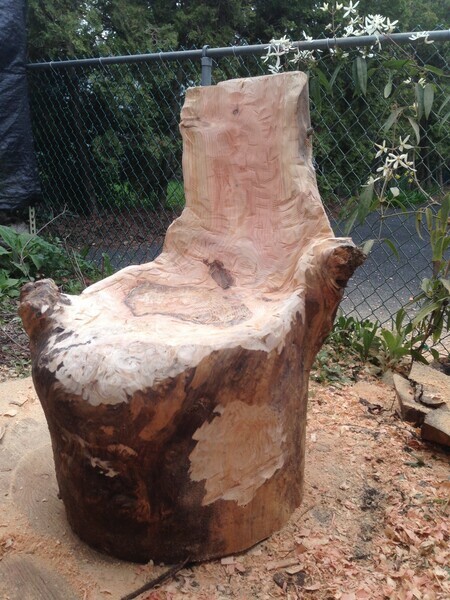
After initial chainsawing of seat
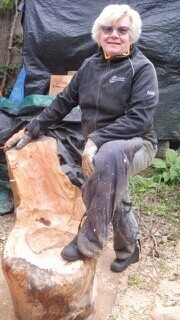
Using the chair as a 'Foot' stool!
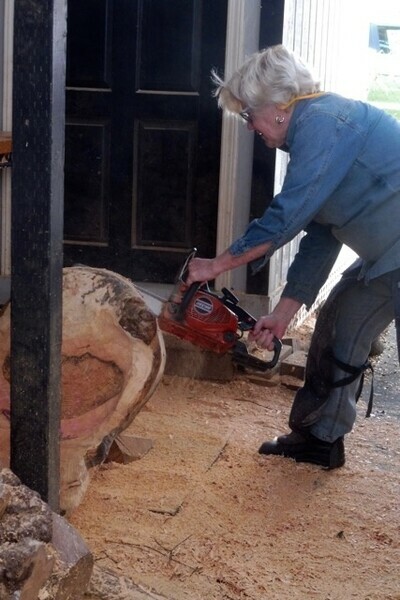
Undercutting under the seat....
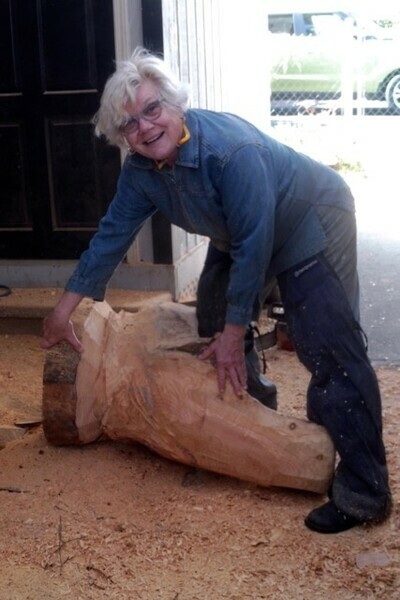
Chainsawing gives me a 'happy buzz'!
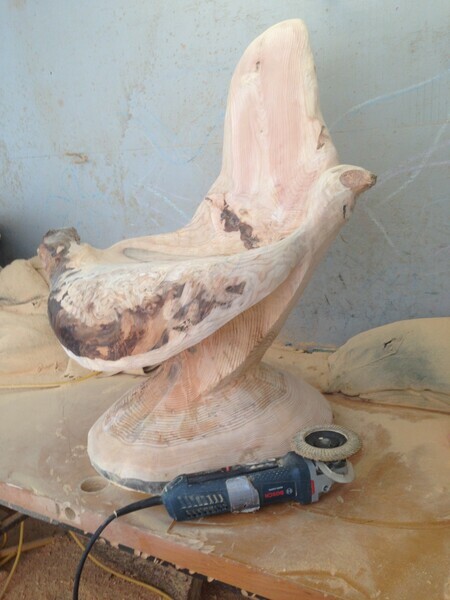
Up on my workbench for some shaping and sanding.
....It's sitting in my backyard until I decide what finish to use.
TO BE CONTINUED......
July 23, 2018
The seat had a huge 'pitchy patch' so this sculpture failed to pass the test for a chair.
What to do? Cut out the pitchy patch and make a planter!
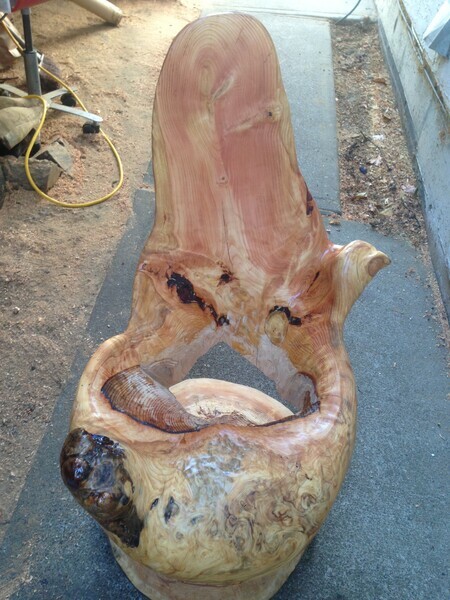

B E F O R E
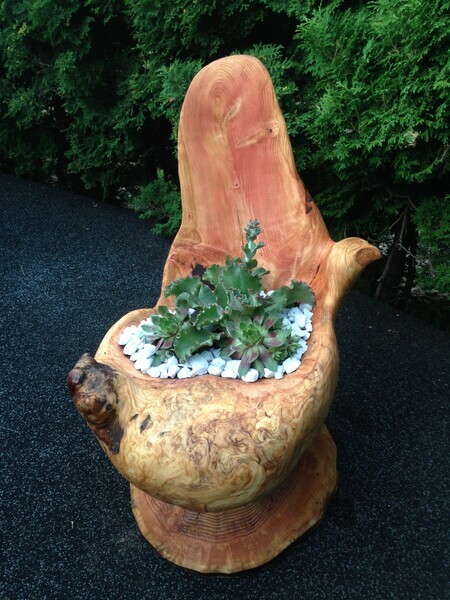
A F T E R - A hand rubbed Tung Oil finish made the colors pop!
An 150 year old Garry Oak had to be removed from a private property in Uplands area of Victoria, B.C. The owner wanted the wood to be used for art as much as possible and not firewood.
Here is one of the pieces I got:
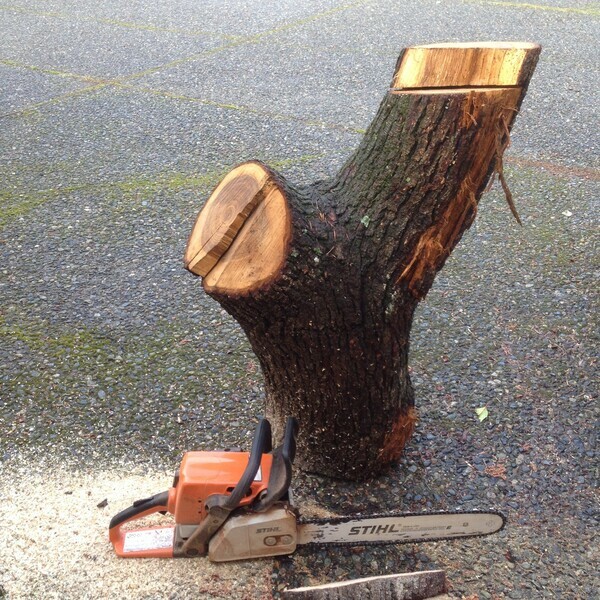
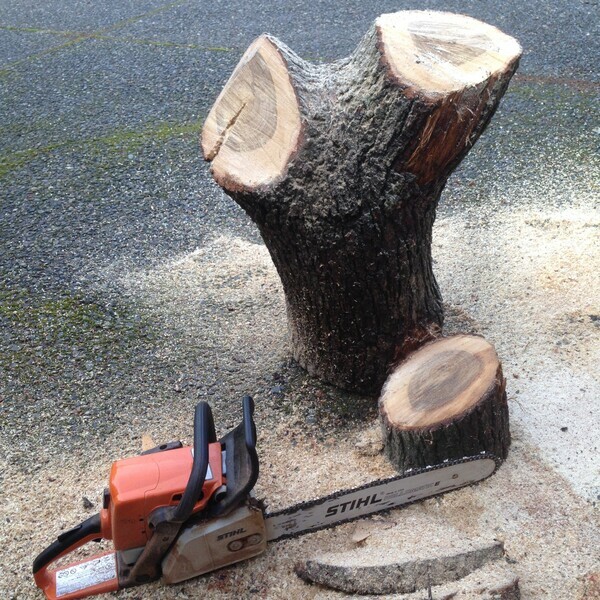
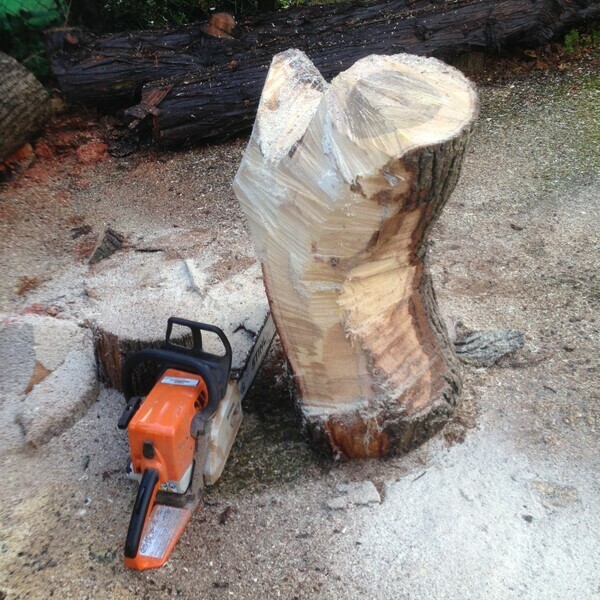
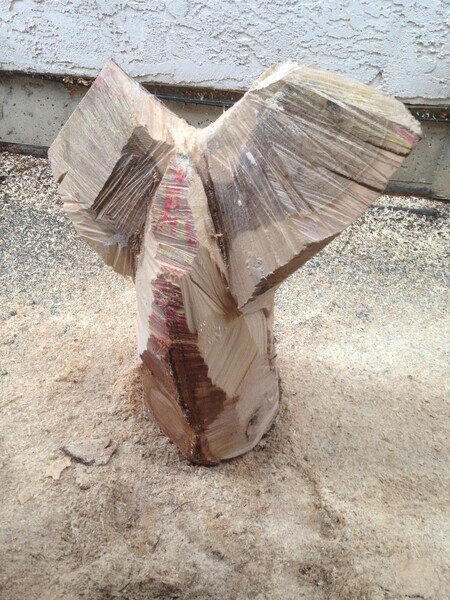
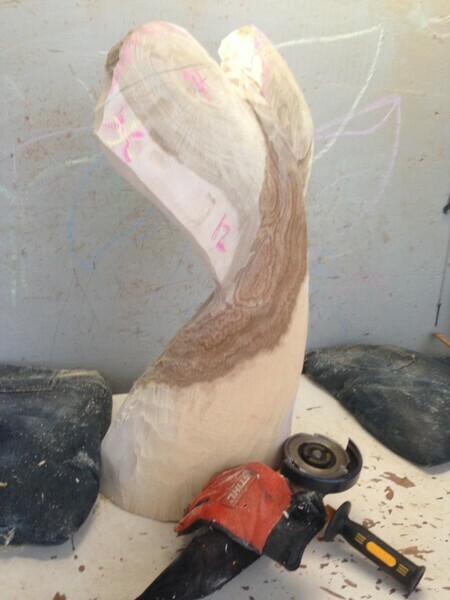
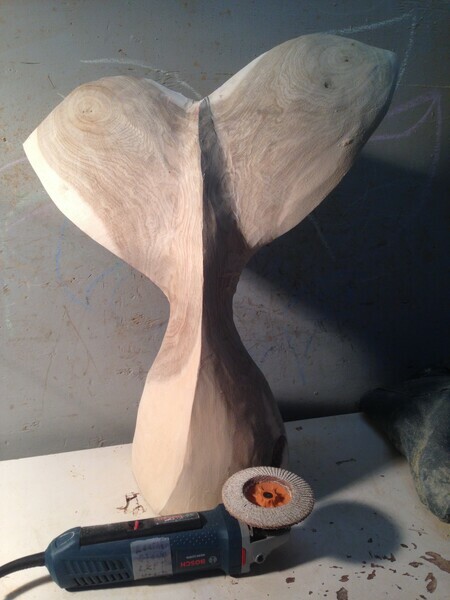
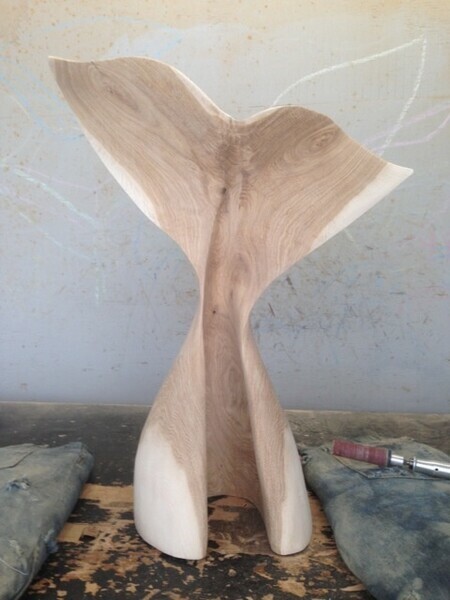
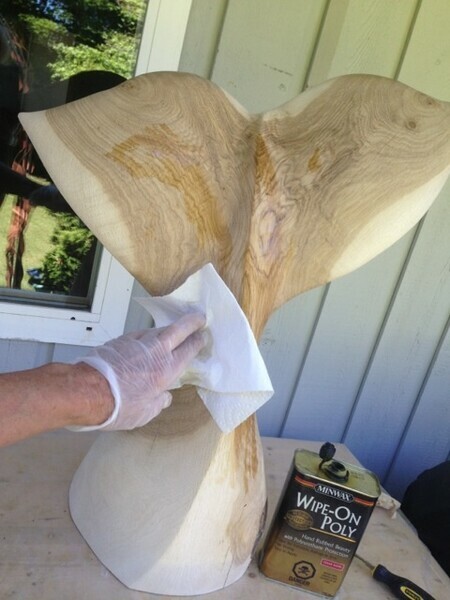
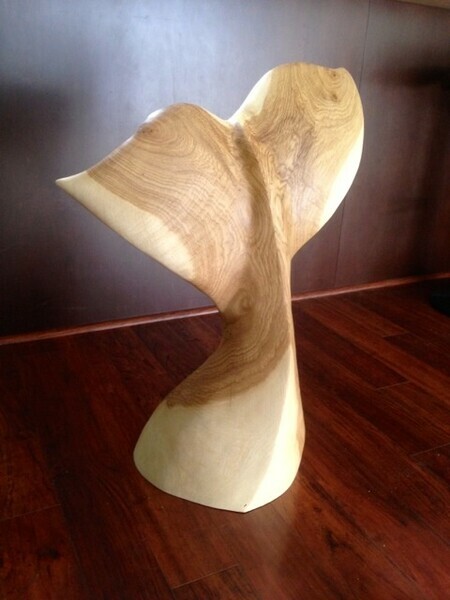
'Granny' the Matriarch of the Salish Seas Orcas has gone back home to Uplands where the tree was removed!
Here is my project for the Fireweed Winter Celebration of Art Show
December 3 and 4, 2016 (See upcoming events)
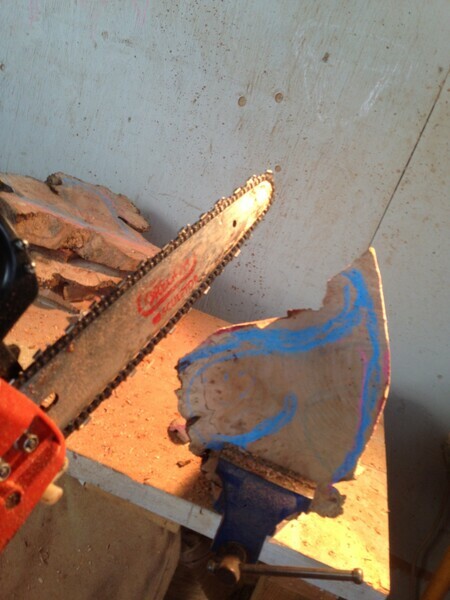
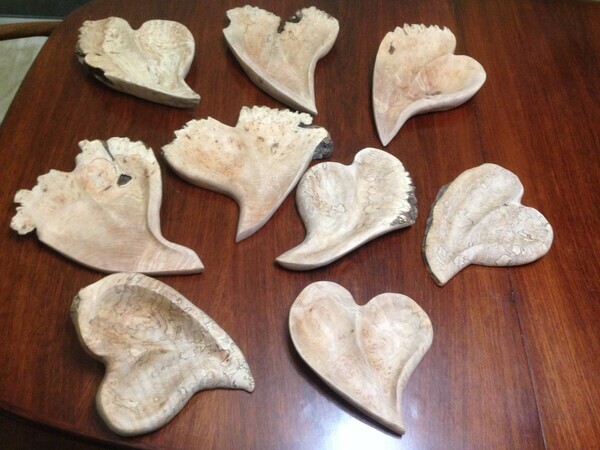
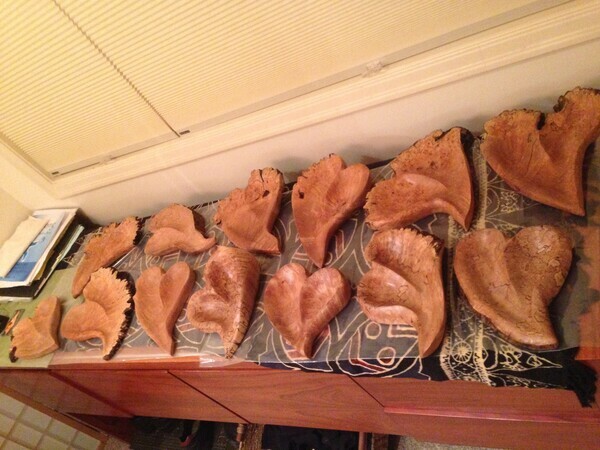
November 8, 2015
A black locust tree was cut down in a neighboring yard and I was fortunate enough to obtain this piece:
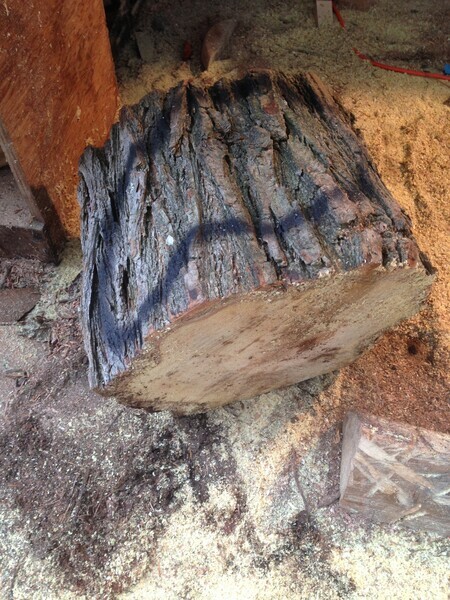
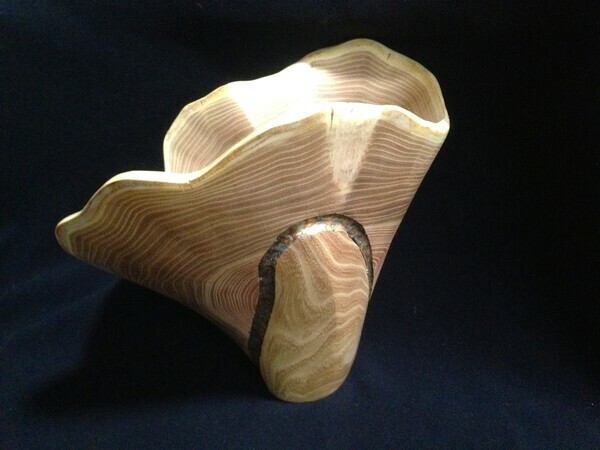
After a major 'boo boo', this log as transformed into 'Golden Glow' pictured below
I chainsawed off one side to make the bottom of my vessel:
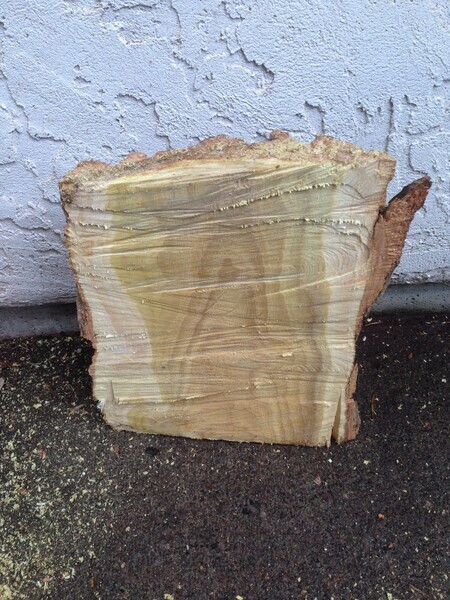
the color and grain is magnificent.
In keeping with the Halloween spirit, I had my chainsaw in on October 30th getting a new chain....the man stated "This is an Echo saw, with an Oregon bar with a Stihl chain = you have a Franken-saw!" LOL
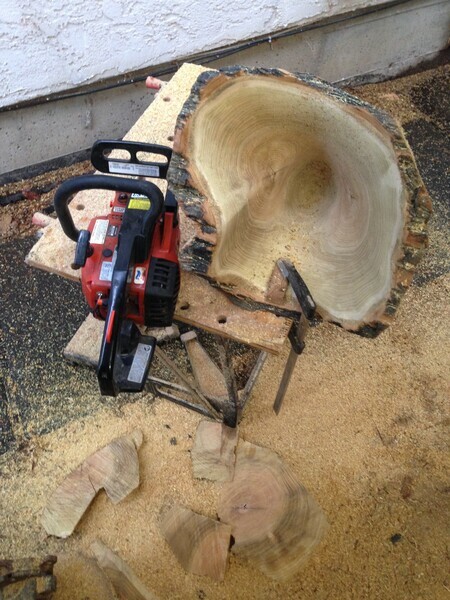
I made 5 perfect chainsaw cuts down the outside of this unique vessel.....then......
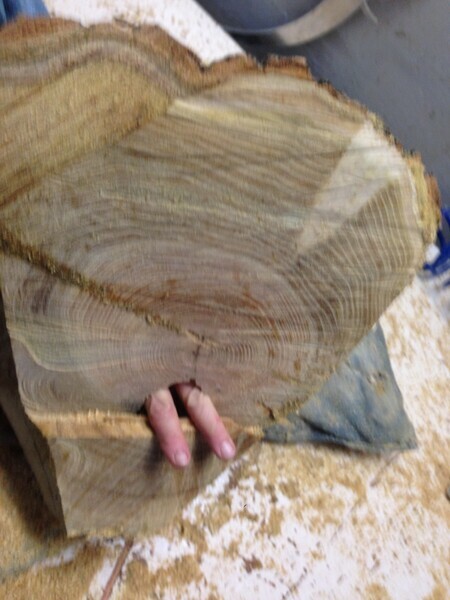
WHOOPS! I chainsawed right through to the inside down by the bottom!
What to do?
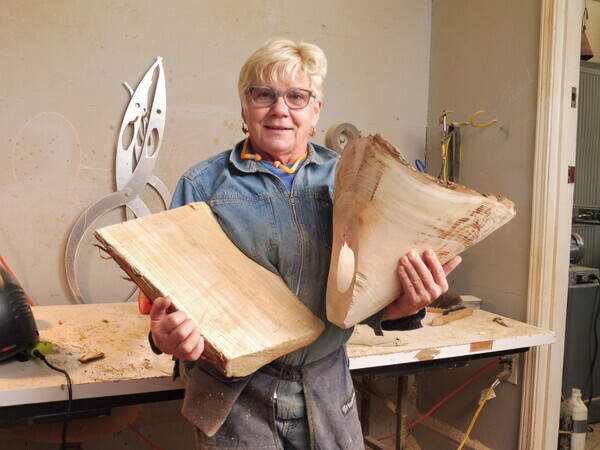
Here's the idea.....completed the crooked chainsaw cut and will laminate a piece on to make it look like an 'intentional two piece' vessel:
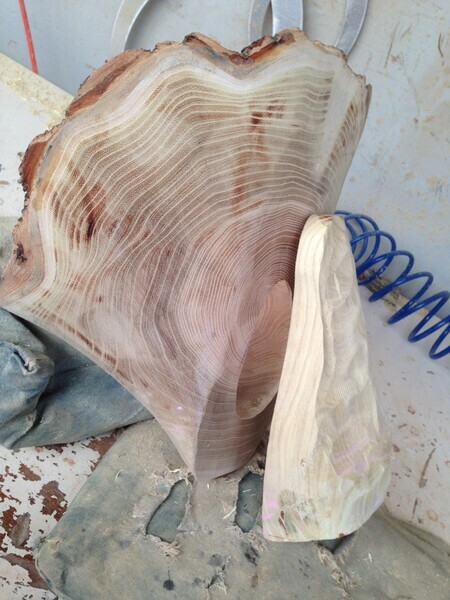
The 'add-on' piece is now in my oven drying out before I glue it on and sculpt it to match the vessel.
Who says I don't bake?
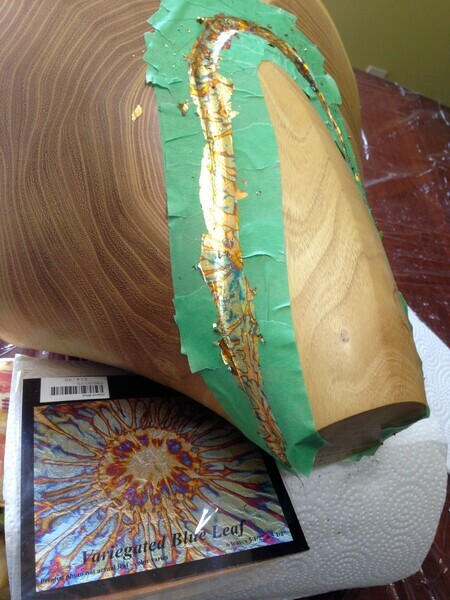
Added Variegated Blue Leaf around the 'Seam' - Now the piece is 'Golden Glow'
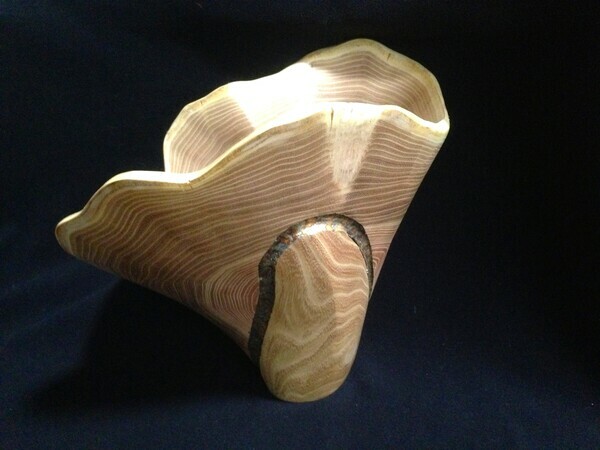
Golden Glow in all it's glory!
When I chose this yellow cedar burl, my aim was to create a vessel following the natural flow of the wood:
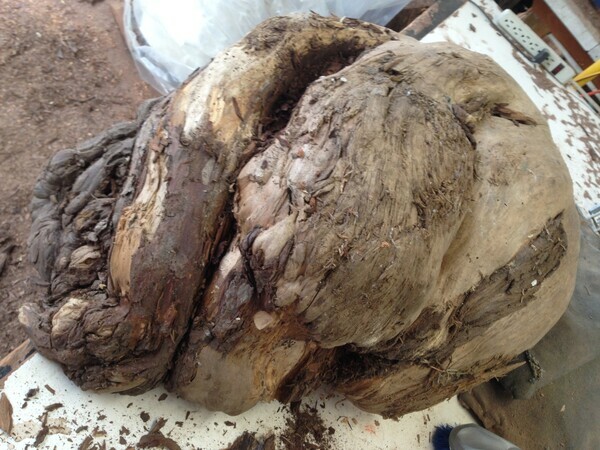
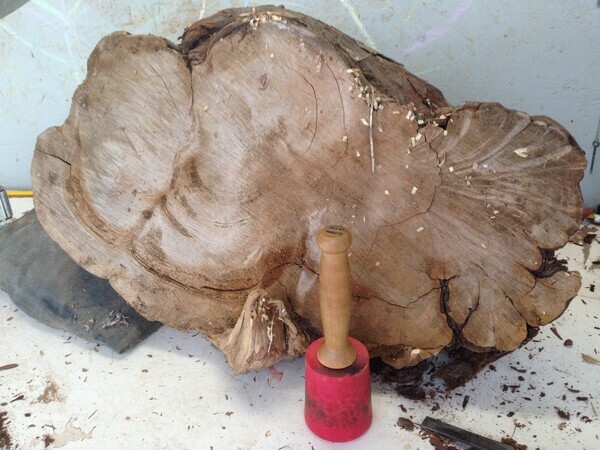
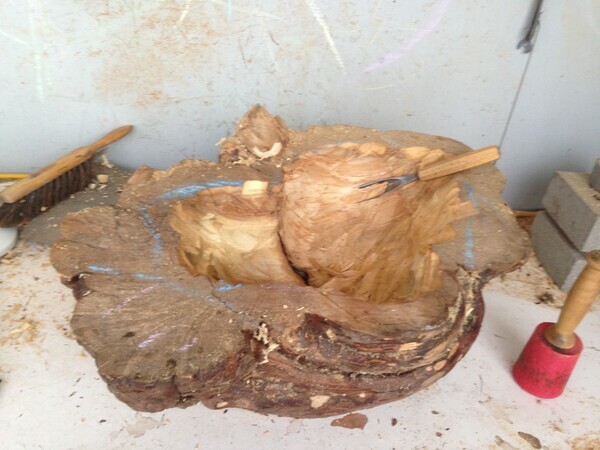
I soon realized that that would be easier said than done. As in life, we must often let go of expectations. A tough lesson is often letting go of the bad and keeping the good.
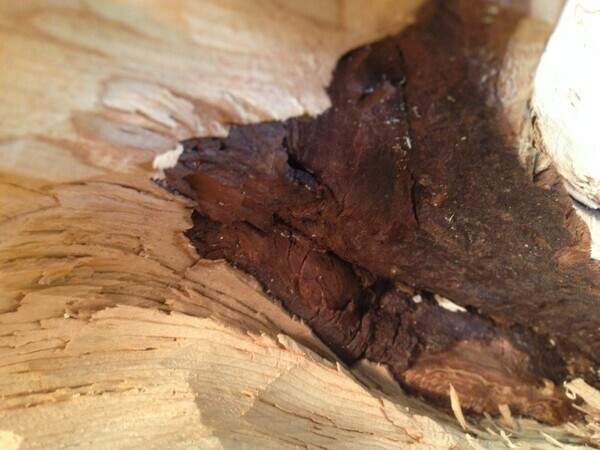
This is 'bad'.....so it's got to go
Change is gradual but by peeling off layers, we can discover the beauty beneath.
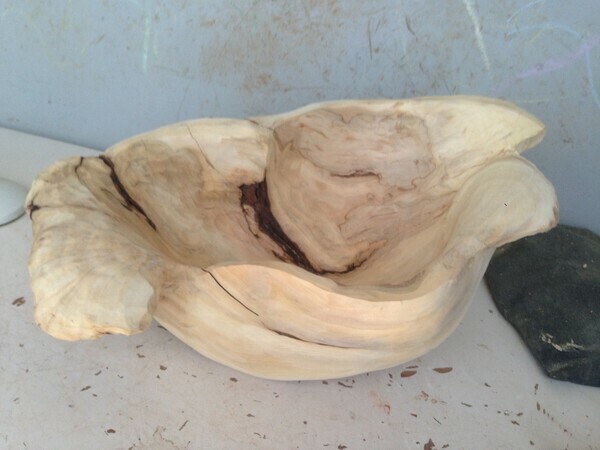
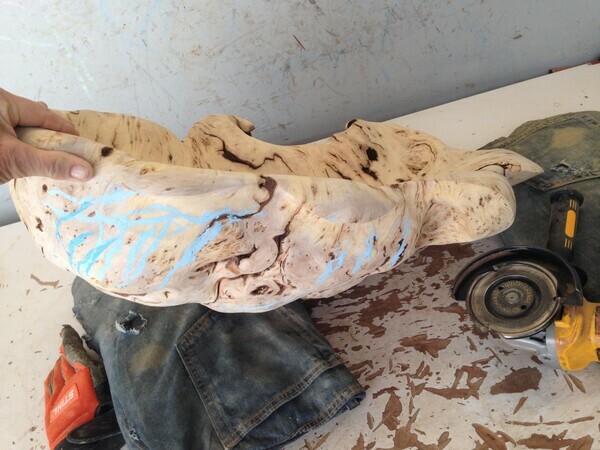
More wood has to be removed to 'Go with the Flow'
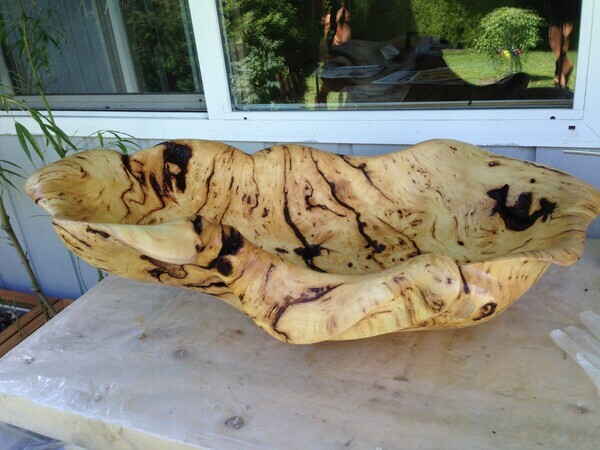
On the Finishing Table - See how the color intensified
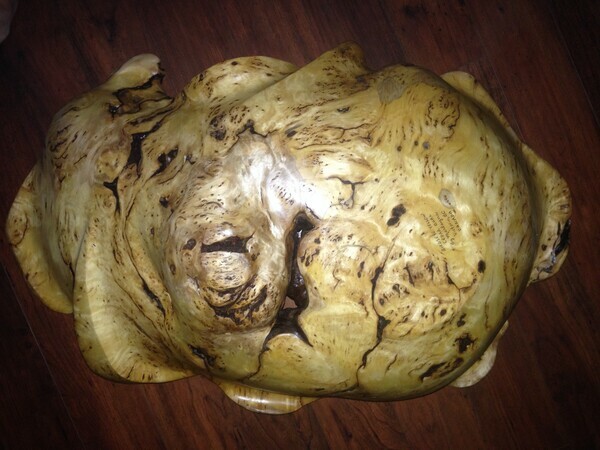
View of the bottom of this precious burl
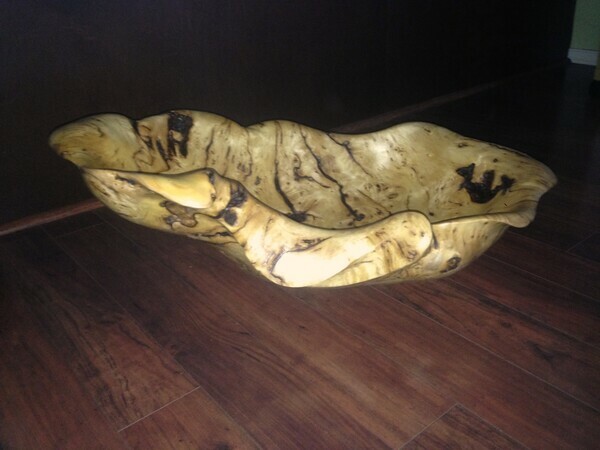
Finished piece - from the top it looks like an Eagle, so I have named it Golden Eagle Feast Bowl.
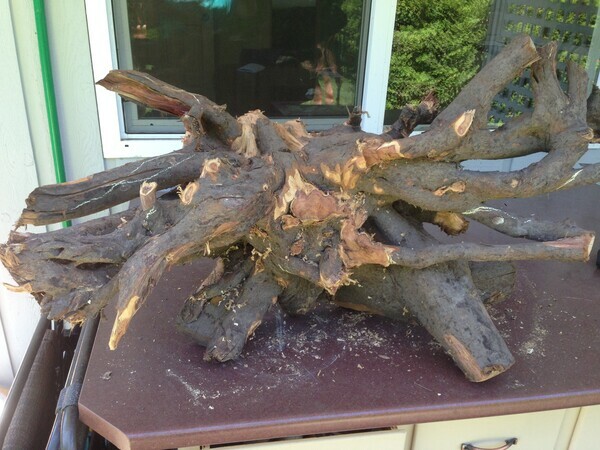
This creation is evolving from a Rocky Mountain Juniper Root
BEFORE
AFTER (See below for the creation process)
F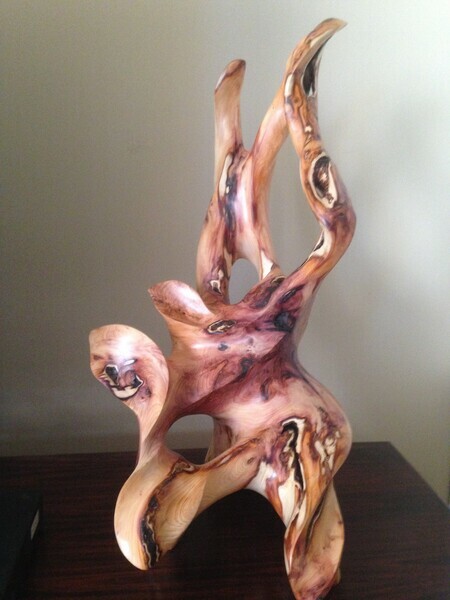
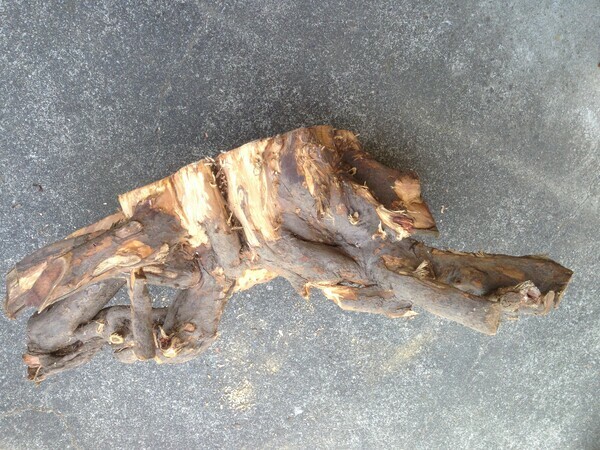
My challenge is to SIMPLIFY and STREAMLINE the piece. The sawed off piece on the bottom must blend with the sleekness of the sculpture.
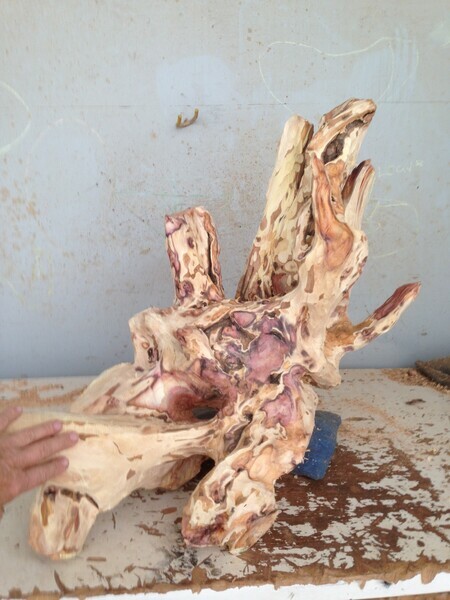
The branch poking out on the right side is removed:
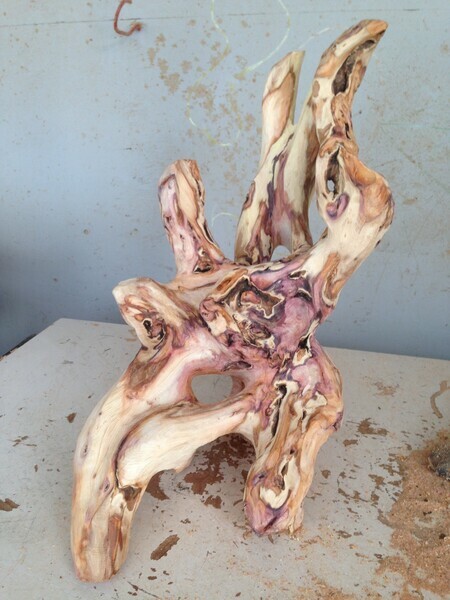
You can see two negative spaces in the photo above that I created with chainsaw plunge cuts.
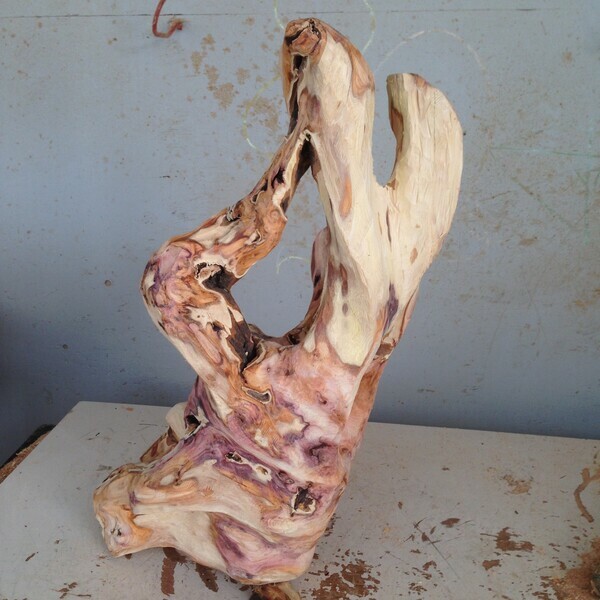
The sawed off portion of the wood is starting to go with the flow of the piece. There was still a lot of shaping to create the magical movement that this stellar piece of Rocky Mountain Juniper Root deserves.
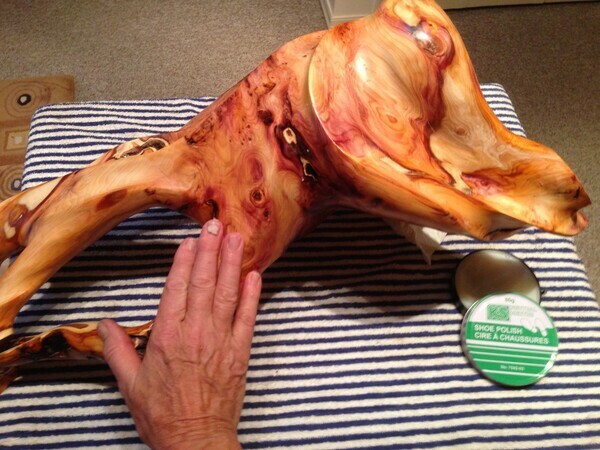
See how the colors 'pop' with the application of neutral shoe polish. This is my choice of finish for this wood as it maintains the pink and orange color of the Rocky Mountain Juniper.
March 18, 2016
Victoria was subject to a tremendous windstorm on Sunday, March 13th and a 30" diameter Garry Oak Tree was uprooted in Playfair Park. A huge piece of the base of the trunk was able to be rolled down to friends' driveway adjacent to the park.
Here are my dogs and I sitting on the piece:

Now I'm tackling taking away a lot of the excess wood to get it to a size that can be moved to my studio:
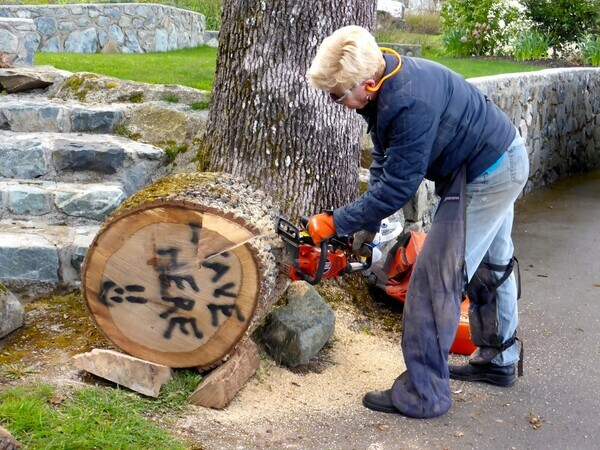
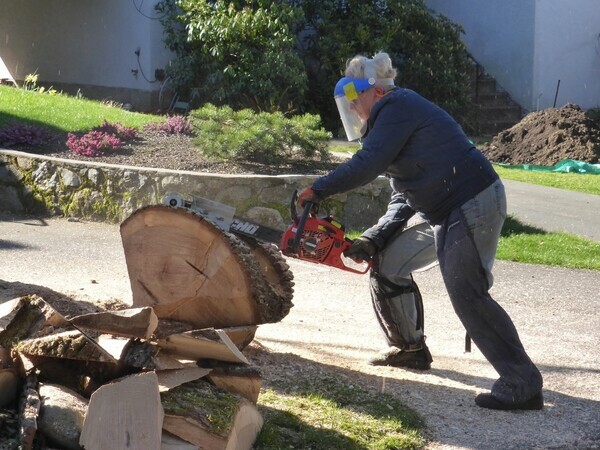
After several hours over a two day period, the piece was light enough to be lifted into a car (with the help of two strong men!). Here is what it looks like now:
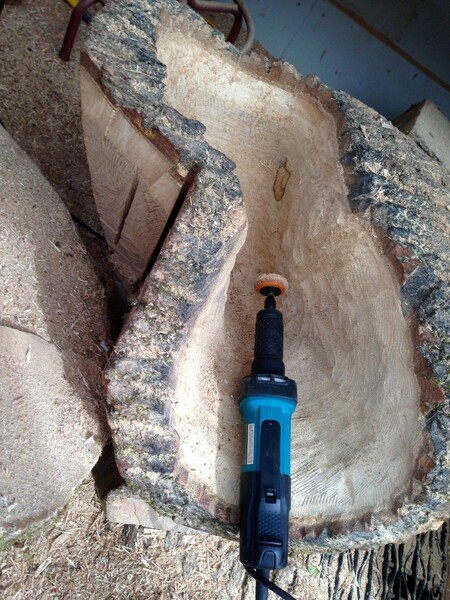
Burrowing down with this burr to make the inside of the base
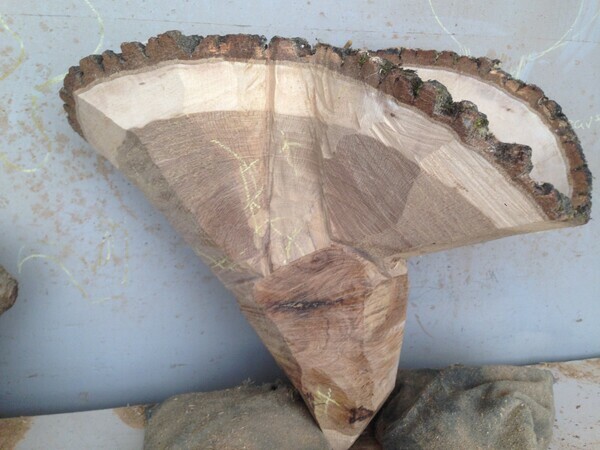
After chainsawing off excess wood, it's starting to take shape
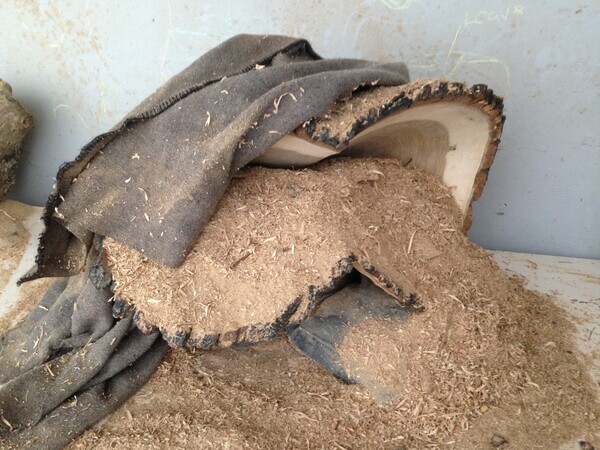
Nightey-Night! It gets filled with sawdust and wrapped in a blanket for overnight.
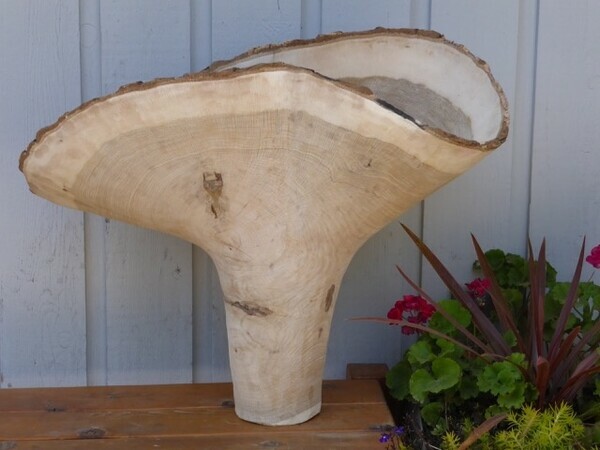
It's starting to look more graceful. Still some thinning to do and LOTS of sanding, sanding, sanding!
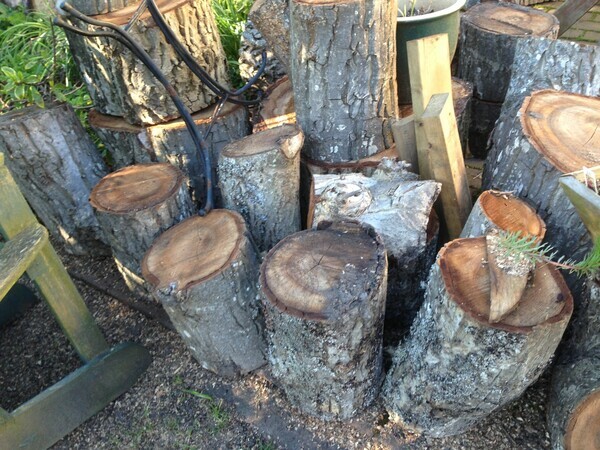
In a November windstorm a large walnut tree blew over. Here is some of the wood:
I chose a small log for my first piece. There isn't much/any heartwood in it, but random markings make it interesting.
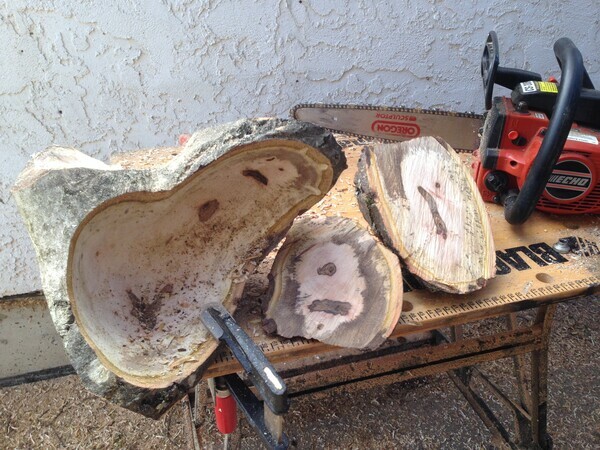
There was a branch protrusion (upper left corner of photo above) and it was incorporated to make the 'dancing foot'
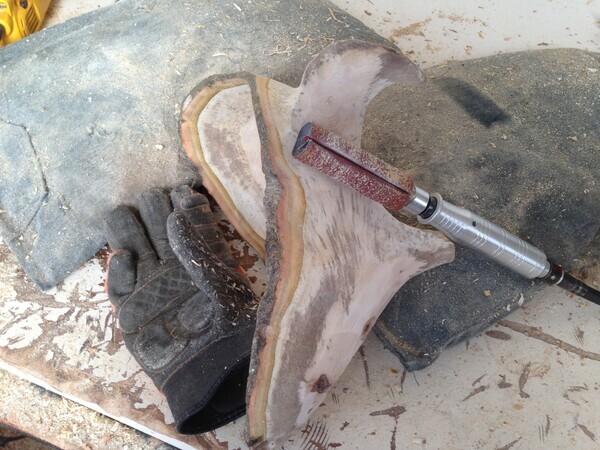
The piece is sanded with 80 grit
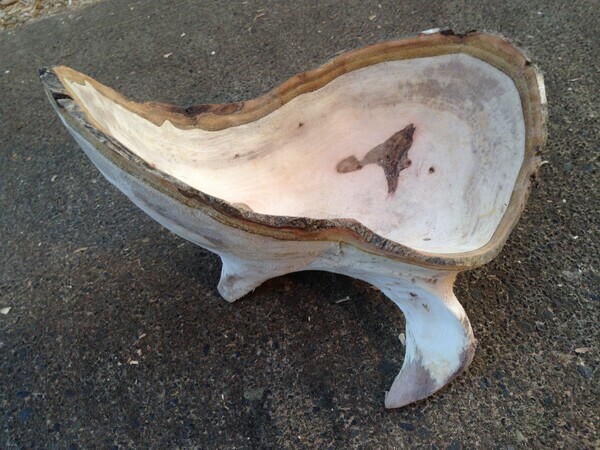
I've wrapped the not-yet-dry piece in a towel and placed it in a plastic bag to slow the drying process. When it's dry the sanding will be completed. I think this piece looks like a 'Spring Dance'.
