Blog
February 21, 2016 - This piece of maple was harvested from a fallen tree in Mechosin, BC several years ago. It was on a rural acreage and rumor has it that a 2nd 'Cougar Annie' lived there and that she shot at cougars when they came on her property. There wasn't a bullet in the wood, but there was a nail! (See blue spray paint below)
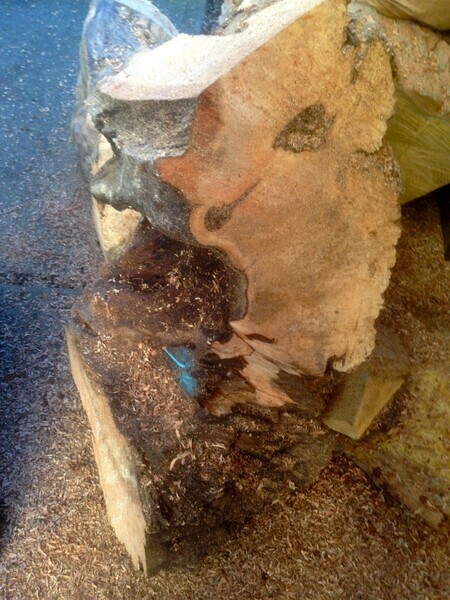
I chainsawed off the rough edges and started to sculpt the shape
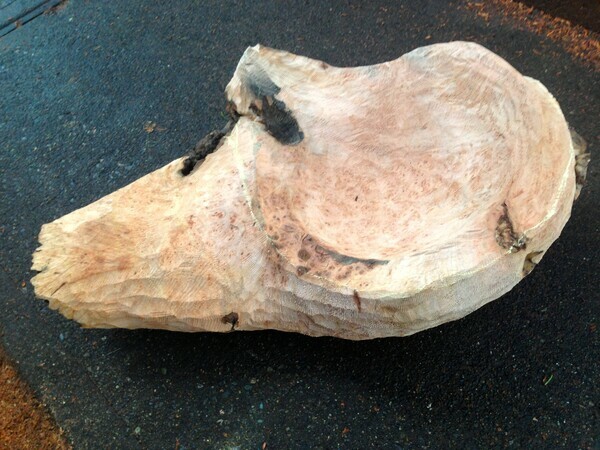
Starting to 'go with the flow' of the wood
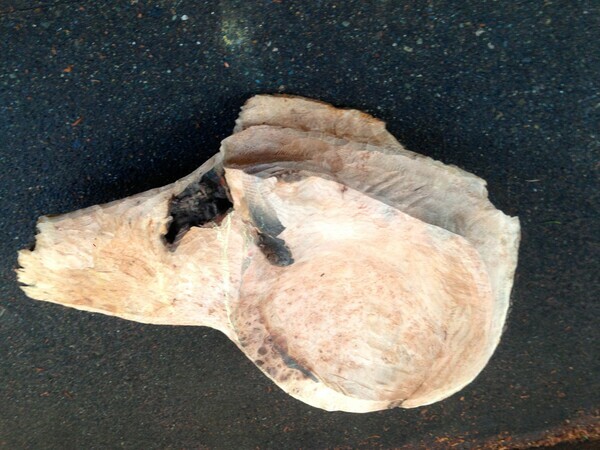
The piece is starting to come alive
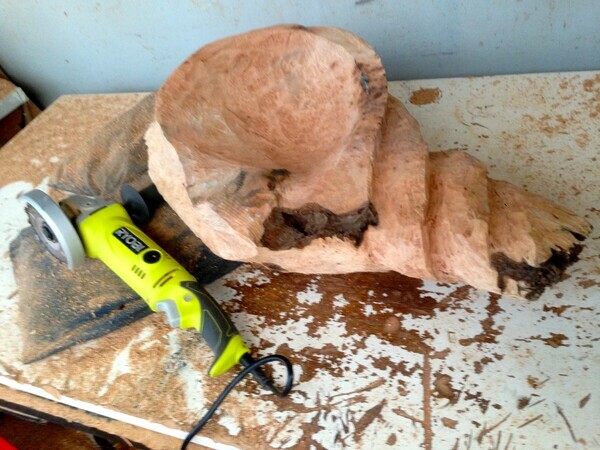
I am anxious to get back out soon and allow this piece to proceed taking shape. This piece of maple has lots of burl and exciting grain patterns yet to be discovered.
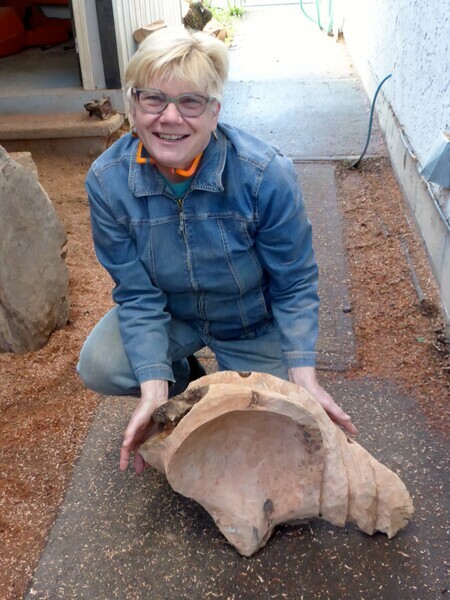
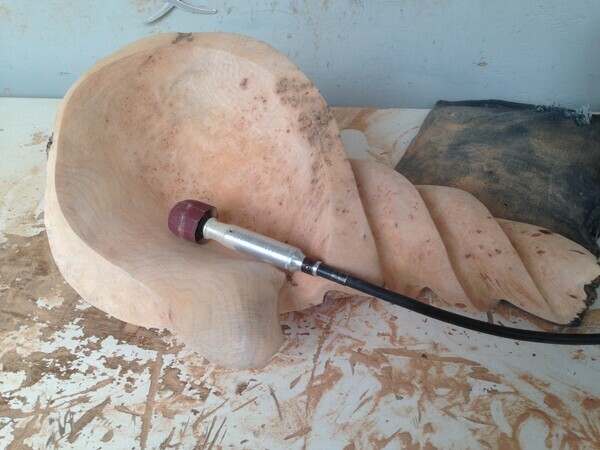
On Saturday, February 21st I debulked and shaped this sculpture = a lot of sawdust!
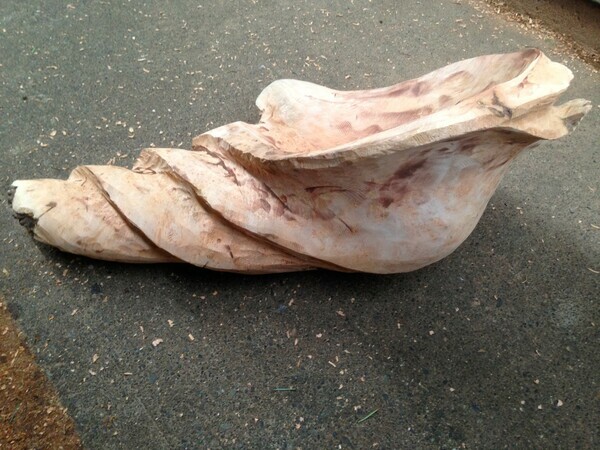
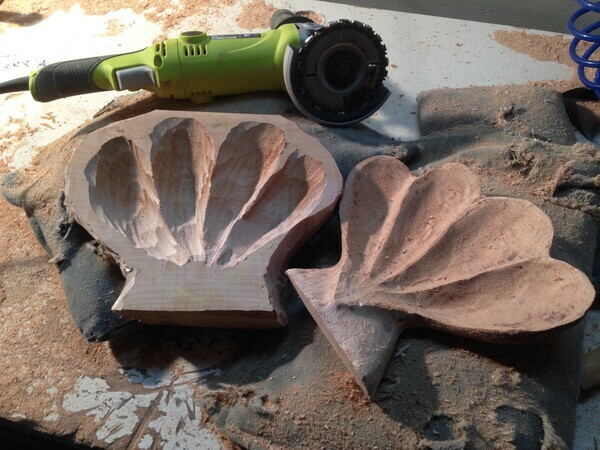
It's now February 24th and I've spent several hours sanding, sanding, sanding and refining the shape. This is what this shell sculpture looks like now. Still have many hours of sanding to do to make it stellar and silky!
The top of the shell has been furled back to make it sleeker. The bottom centre has also been smoothed out.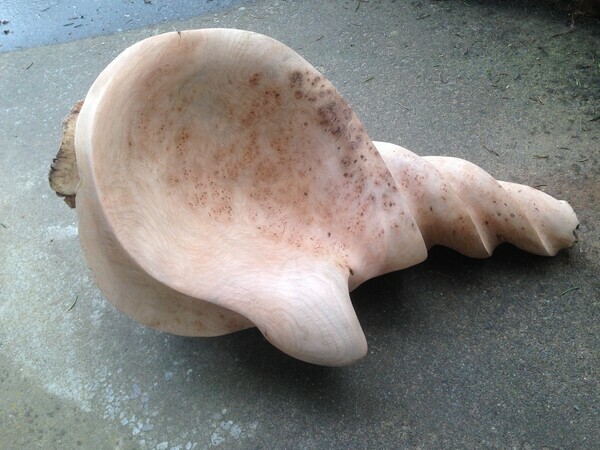
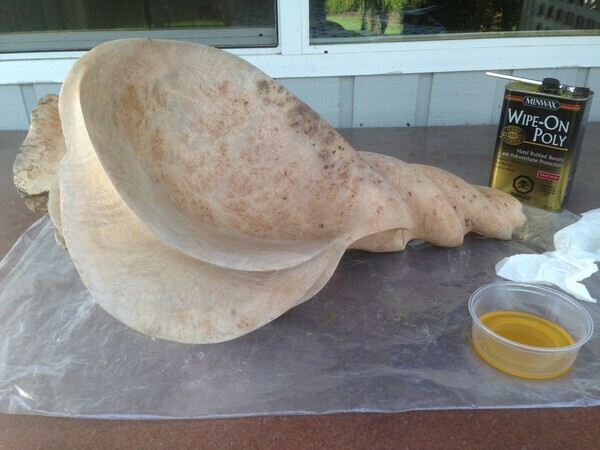
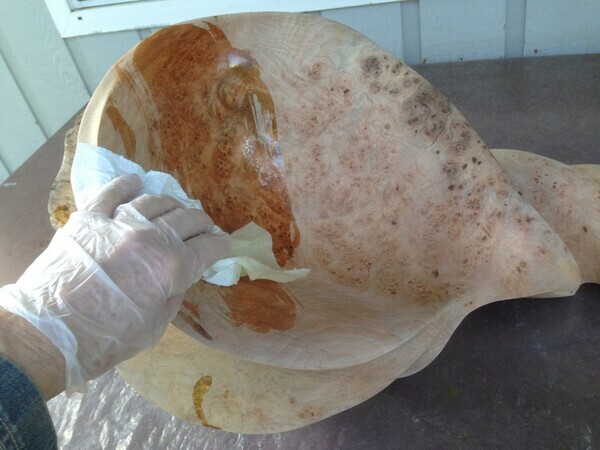
UPDATE - It was decided that smooth and slick is more chic......so the protrusion at the bottom is gone now and after hours of sanding it's time to put the finish on:
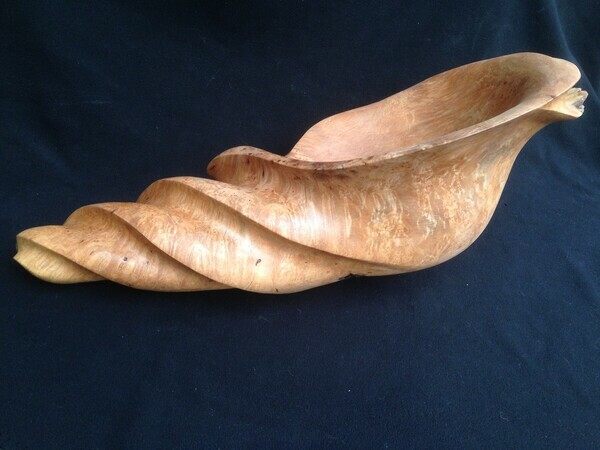
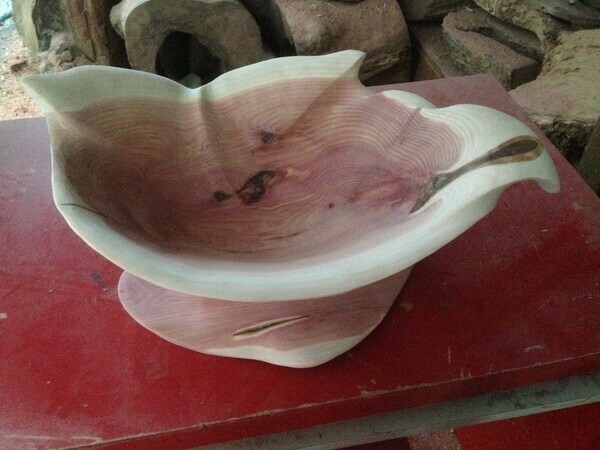
This is the log of Rocky Mountain Juniper and the start of this piece:
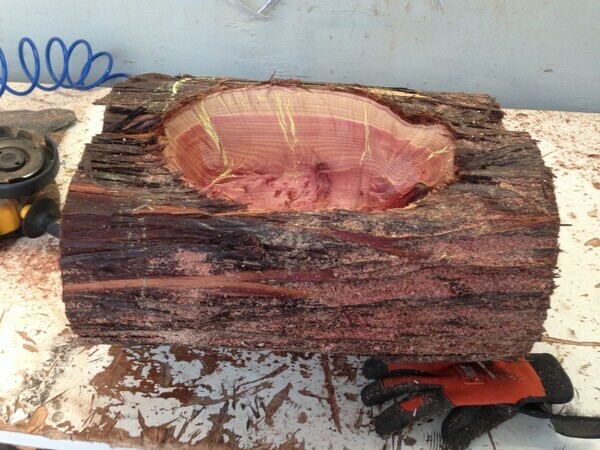
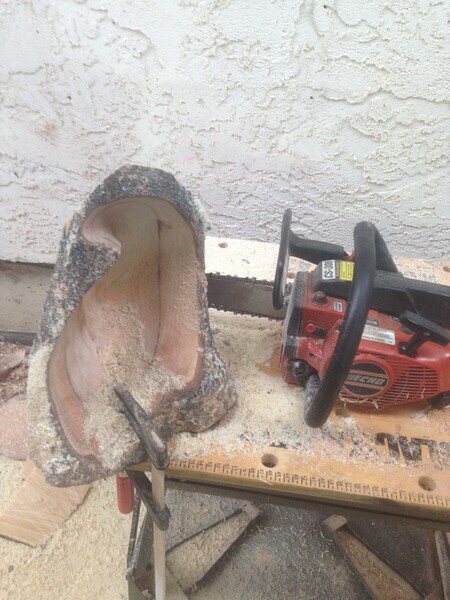
The inside has been sanded at 80 grit and the outside chainsawed off:
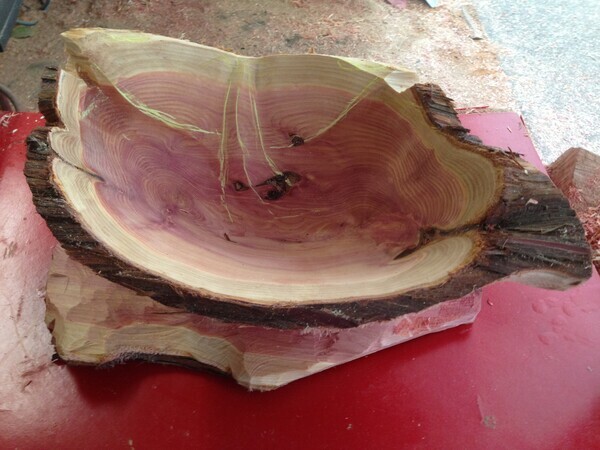
The bark around the rim was detracting from the sculptural beauty, so it had to go.....
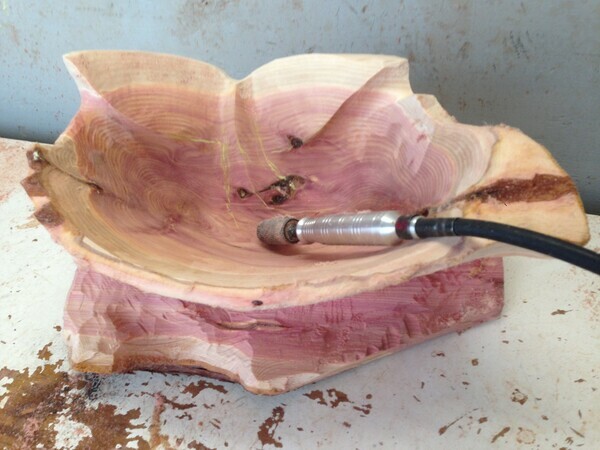
The outside and the base have been shaped and refined......still finishing sanding to be done, but now this one-of-a-kind sculpture is nearing completion.
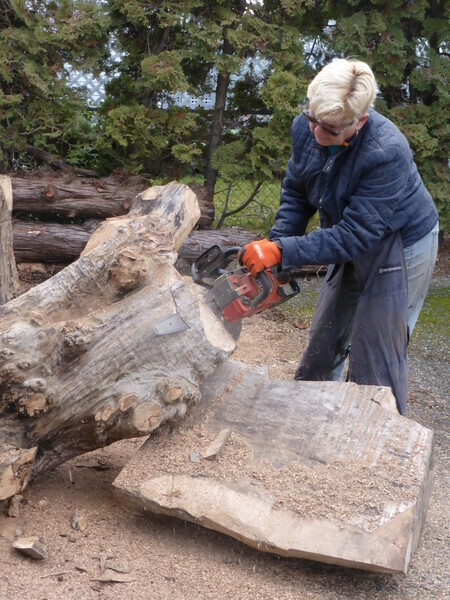
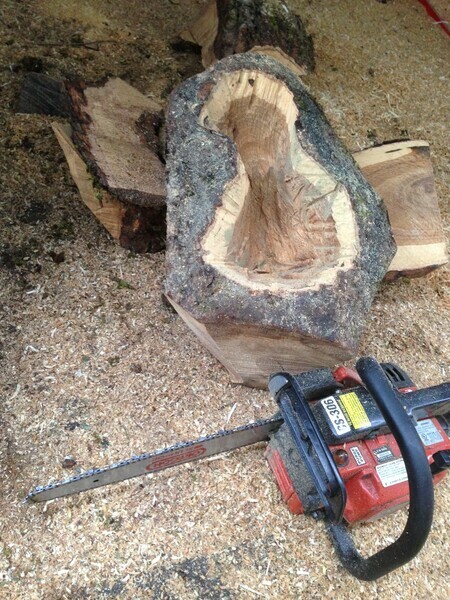
Here I am chainsawing some large chunks of maple that have been exposed to the elements for years. When I get the best wood, I plan to create a showpiece to enter in the Sooke Fine Art show this summer.
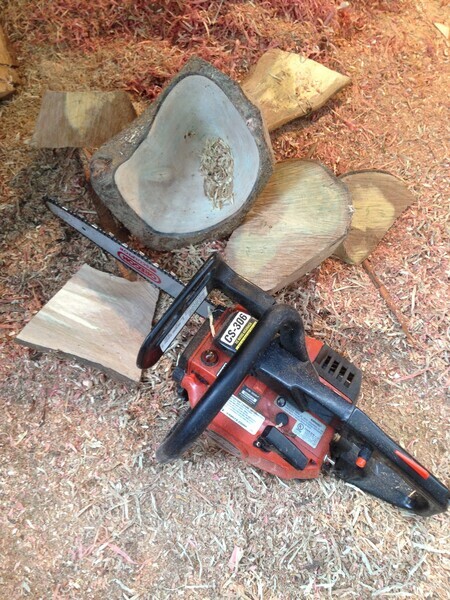
This is the start of a holly vessel. When I finished sanding it and left it out overnight, it began to crack. I sprayed water on the tiny cracks and put it in a plastic bag to allow the wood to expand and get rid of the cracks. It has worked and now I just have to slow down the drying process. I'll keep you posted on how that goes.
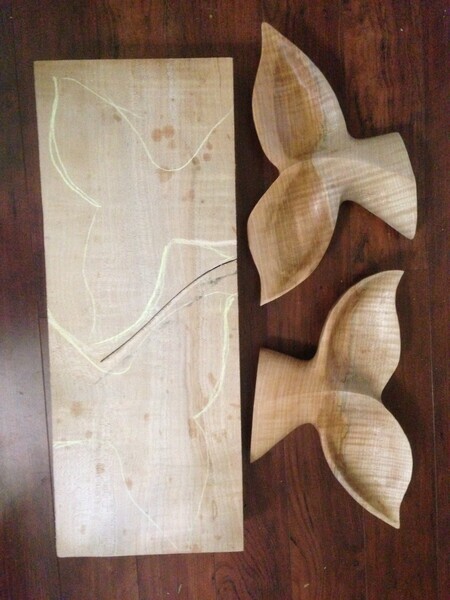
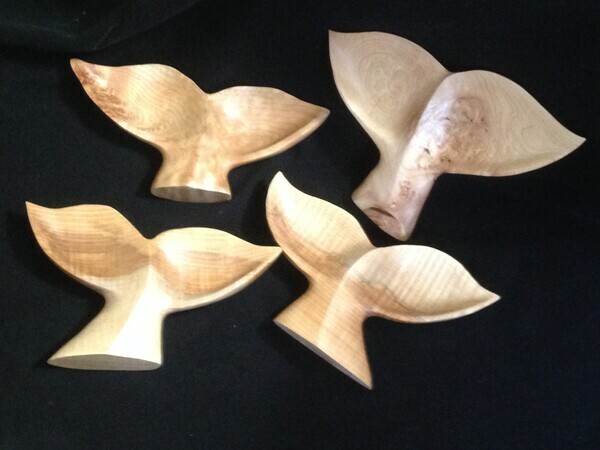
Just as there have been 8 Orca babies born in the Salish Sea this past year, the population of standing Whale Tail Sculptures/Snack Servers created on my workbench has also increased.
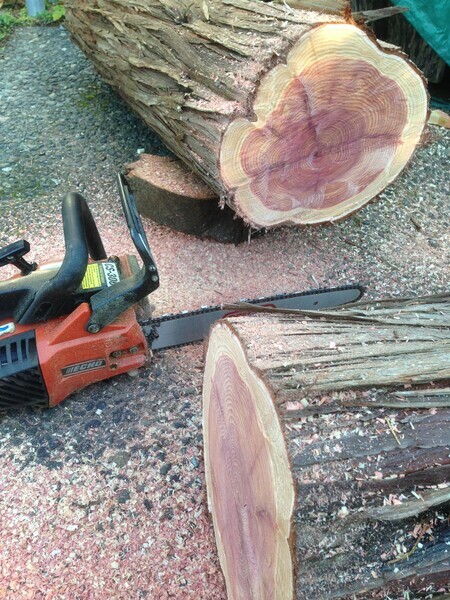
Look at the amazing natural color in this Rocky Mountain Juniper!
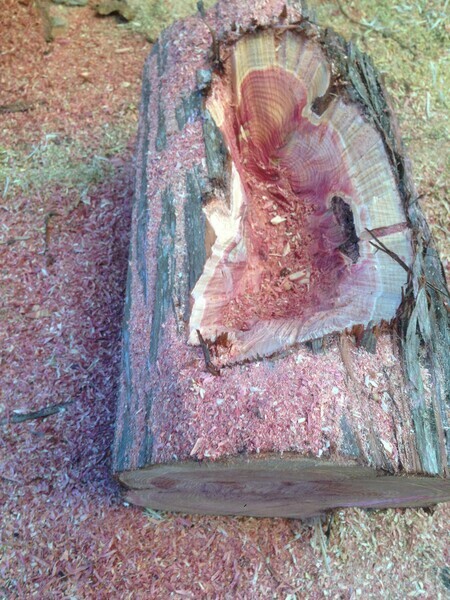
I've roughed out the inside of the vessel with my chainsaw
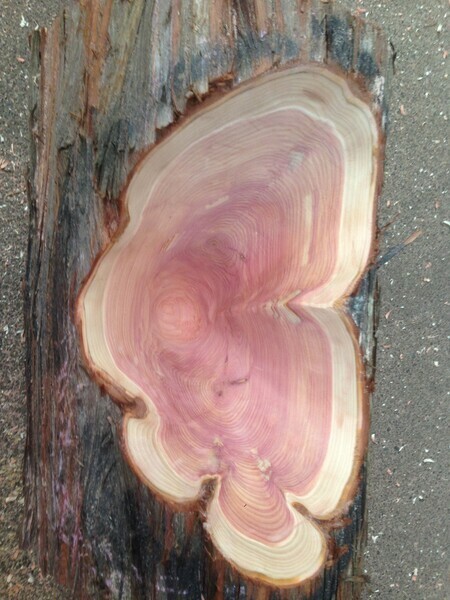
Then I tackled it with a burr and sanding drum
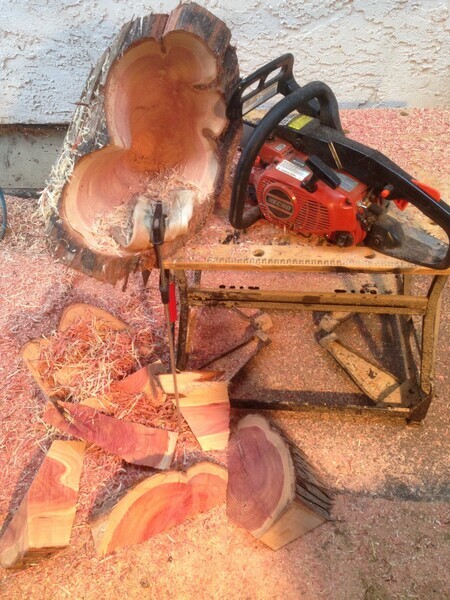
Off came the excess from the outside (and I was very cautious after my Black Locust Boo Boo posted below!)
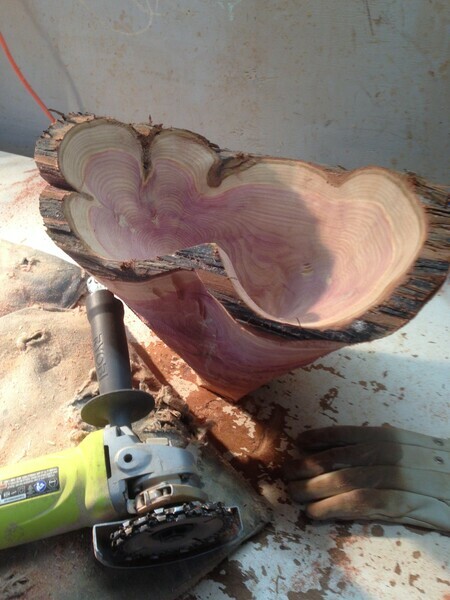
The piece is now about 1" thick all around and I will thin it next
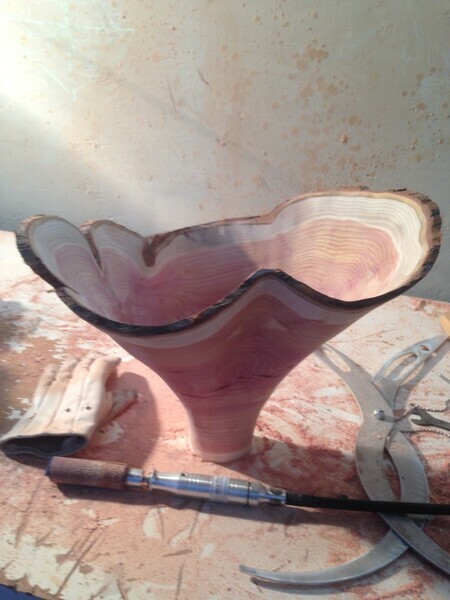
This is what the piece looks like now. Love the stylish profile. I've wrapped it in a dry towel and put it in a plastic bag to slow down the drying process before doing the finishing sanding.
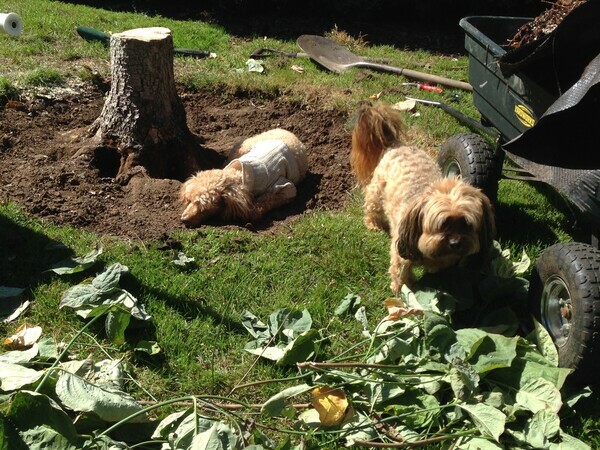
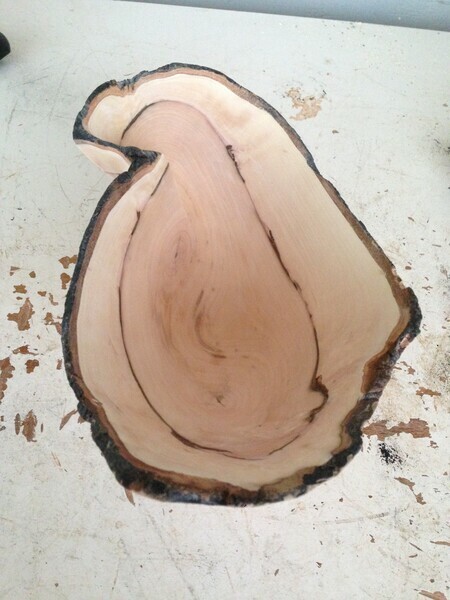
My dogs are wondering what happened to their beloved dogwood tree.....well, like many dogwood trees in B.C. and Washington State it got anthracnose and had to be removed. From the stump in the photo above I sculpted a vessel.
Note the interesting line around the inside.
After it was sanded, I wrapped it in a towel and put it in a plastic bag so it could finish the drying process slowly......but........
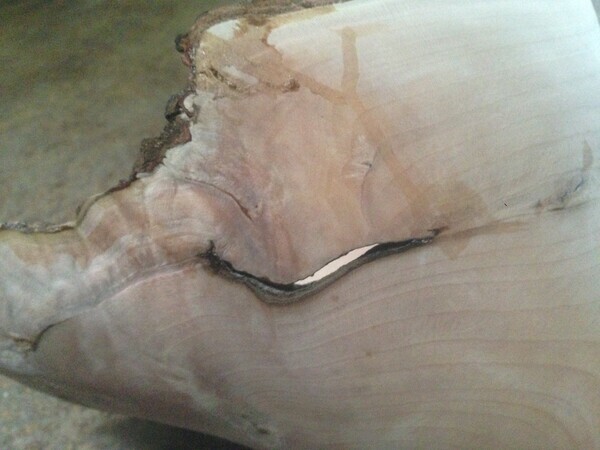
It started to crack around the bark inclusion line.....that's the 'dogwood dilemma'....to fill or not to fill, that is the question. For now, I'm just leaving it to see what happens as the drying process completes.
UPDATE:
Well, it's now January 2016 - and the cracked area has remained stable and looks as if it's part of the 'design' of the vessel, so this is no longer a dilemma. I will put finish on it and post the finished piece soon.
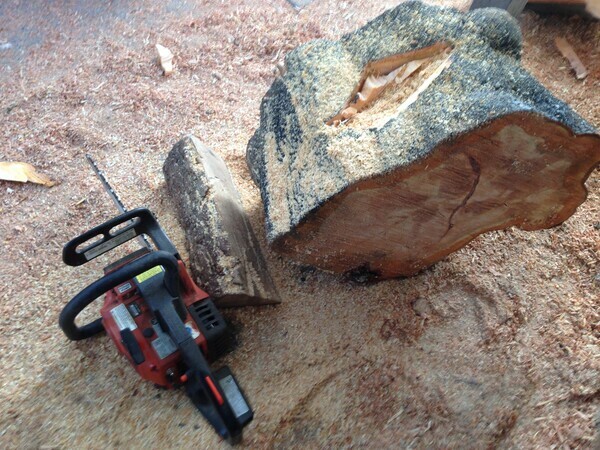
Here I am 'naively' starting what I hope to be a stellar piece from a Flowering Plum cut down on Maitland Street in Victoria....
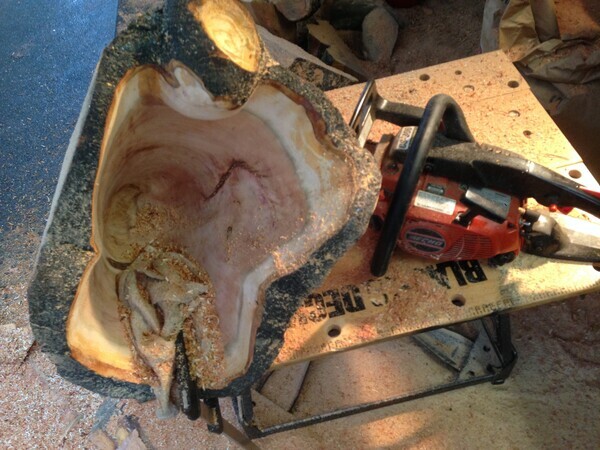
The wood had a built in 'orb' - How cool is that!
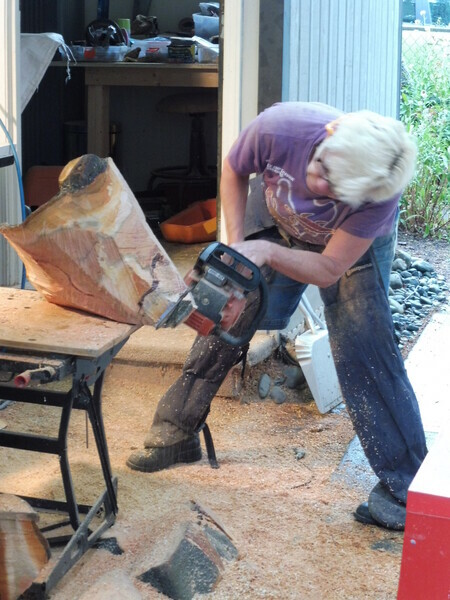
Trimming off the excess
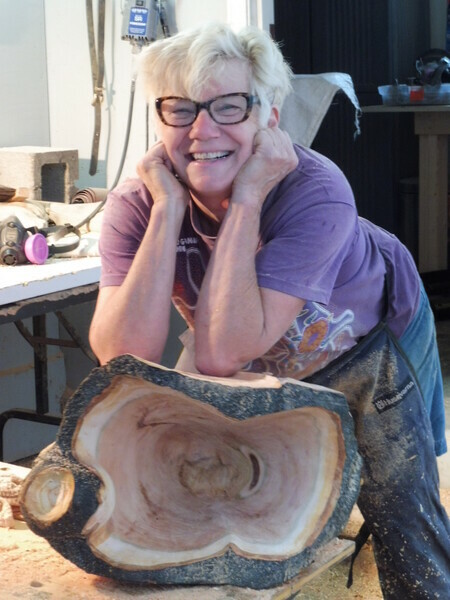
Looking good so far......
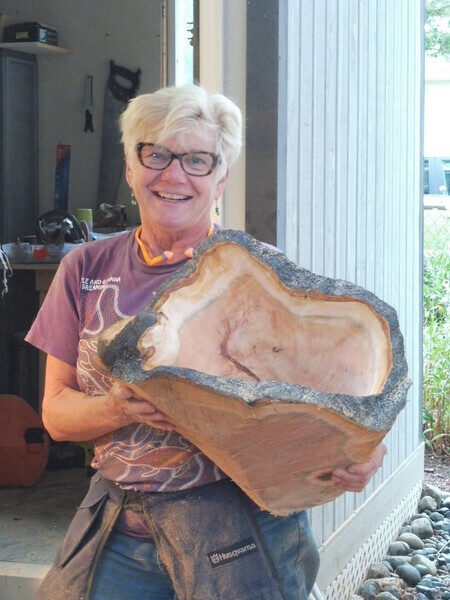
At least I can hold it now....
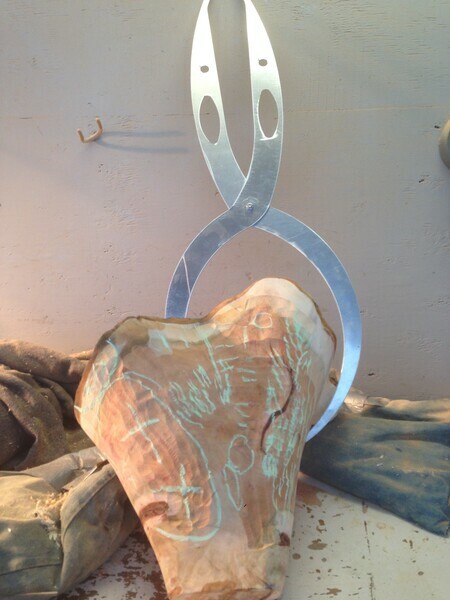
Creating an even thinness using the calipers - and lots of chalk markings!
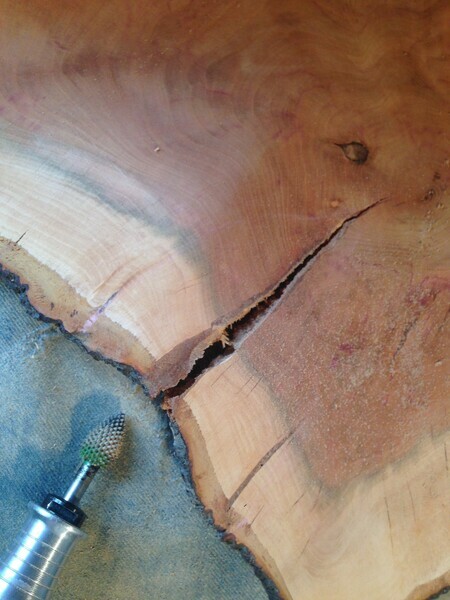
I am pretty good at filling cracks, but the cracks kept cracking and I filled them and they cracked again. Finally, after consulting two wood experts, I discover that plum is a very 'unstable' wood. The solution is to embrace the cracks and make them look like an intentional part of the sculpture.
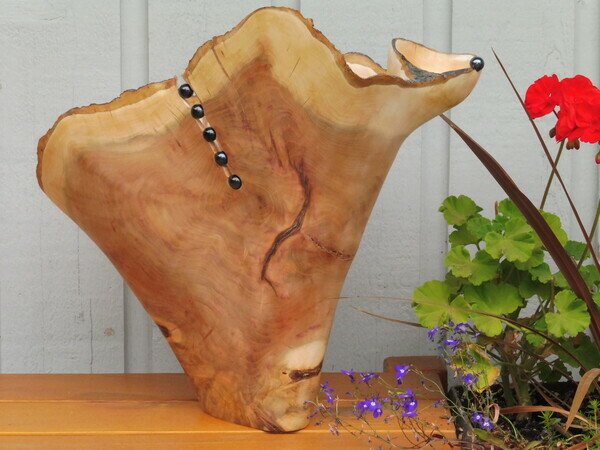
Here is the solution - remove the glue from the crack and drill holes and insert black marbles, including one on the orb. Now the piece is 'all dressed up' - hence the name 'Plum Palooza' - It's ready to party hearty!
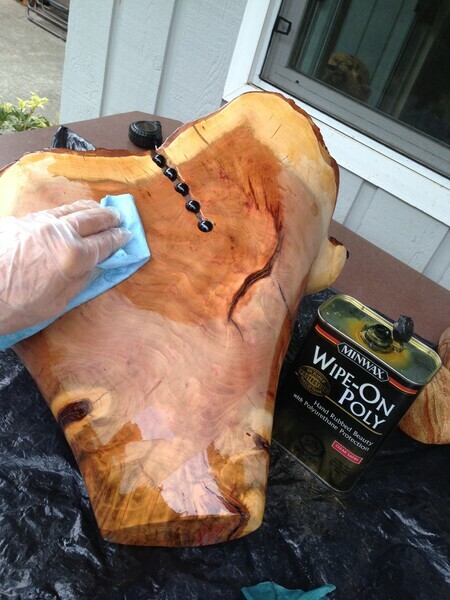
Today I applied the finish and the piece really came to life.
